In our evolution of past Practice Tips, we've discussed the master valves and the role they play in your delivery systems. Master valves provide on/off control for air or water to your unit. Most masters also incorporate some sort of filter assembly. Maintaining these filters is vital to keeping these valves working well and keeping your air and water flowing.
The Evolution of the Master Valve
At their hearts, all master valves are fundamentally the same. They provide a means of turning the air or water on and off using air pressure to do so. These valves are used with a regulator that controls the air or water pressure. Sometimes the regulator is remote and attaches to the master via a hose. The regulator also attaches directly to the master (as shown below).

PHOTO: Old-style master on/off valve with regulator screwed into it.
Sometimes, the master incorporates a regulator within the design. Our master/regulator combination valve combines a master and regulator together in a single valve.

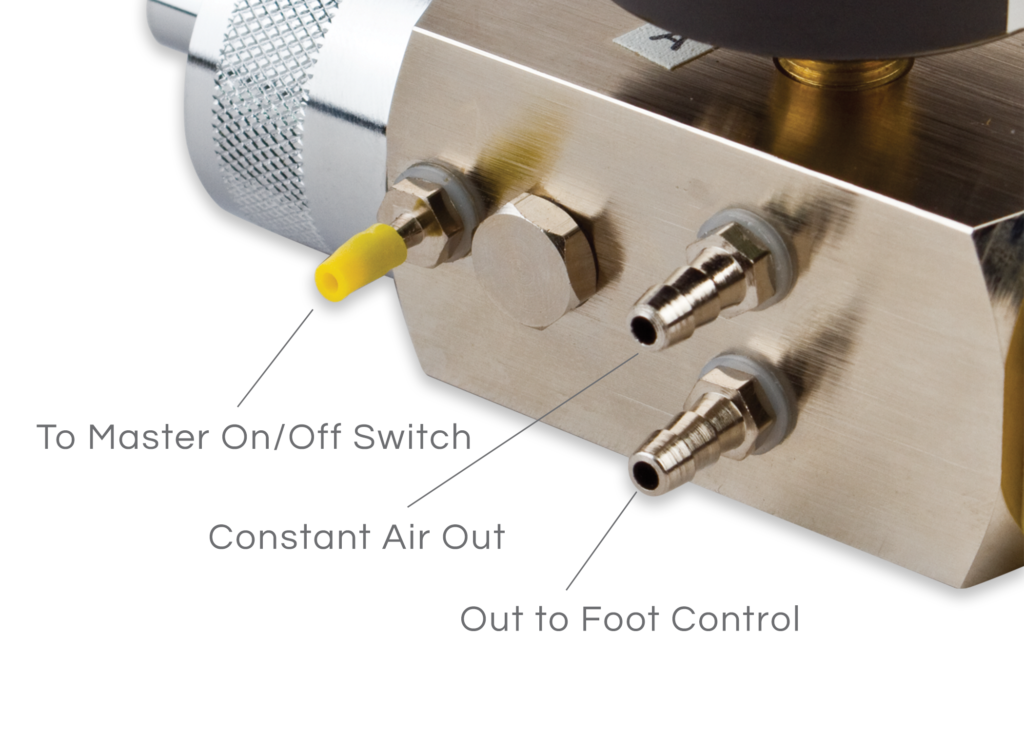
PHOTO: Master Regulator Combo Valve for Air (#05-54)
This valve features a master on/off control and a regulator all in one valve. Its design replaces a master valve with a separate regulator attached to it. The two valves were typically screwed together as shown above.
Filter Assembly
First, the #05-54 master regulator combo valve has a filter assembly. Unlike previous incarnations of valve, the filter goes directly after the inlet connection to your source air or water. This means all air or water filters before it goes into the valve. This placement of the filter helps keep debris out of your lines and keeps everything flowing properly.

PHOTO: Master On/Off Filter Assembly and Air/Water Inlet
Valve Filters
Be sure to check the filter regularly, so it stays clear. We recommend quarterly inspection at a minimum, but your needs may vary. For example, if you have hard water, check your water filter every month.

PHOTO: Access the filter by unscrewing the air/water inlet
Master Valve
Next, we have the actual master valve. An air signal is delivered to this valve to activate the air or water (whichever the valve is being used for), allowing it to flow through to the rest of the valve. Problems in this portion of the valve generally prevent or severely restrict air or water flow.

PHOTO: Master on/off section of a combo valve
A unique feature of this valve is the large nut on the bottom of the master portion of the valve. Removing this nut will expose the interior of the valve, making it easy to push out the valve stem for cleaning and servicing.

PHOTO: Location of nut to access master on/off valve stem
Regulator
Last of all, we have the regulator. It is in this portion of the valve that the air or water pressure is set. The large gauge on top of the valve will indicate the set valve pressure.
NOTE: Because the gauge mounts at the regulator portion of the valve, it's normal for the gauge to read zero ("0") if the air or water turns off (as the master portion comes before the regulator). The gauge reads the active pressure once the valve turns "on." A small set screw on the front of the valve allows you to adjust the pressure. The valves are factory preset, so you shouldn't normally need to adjust them.


LEAVE A REPLY