
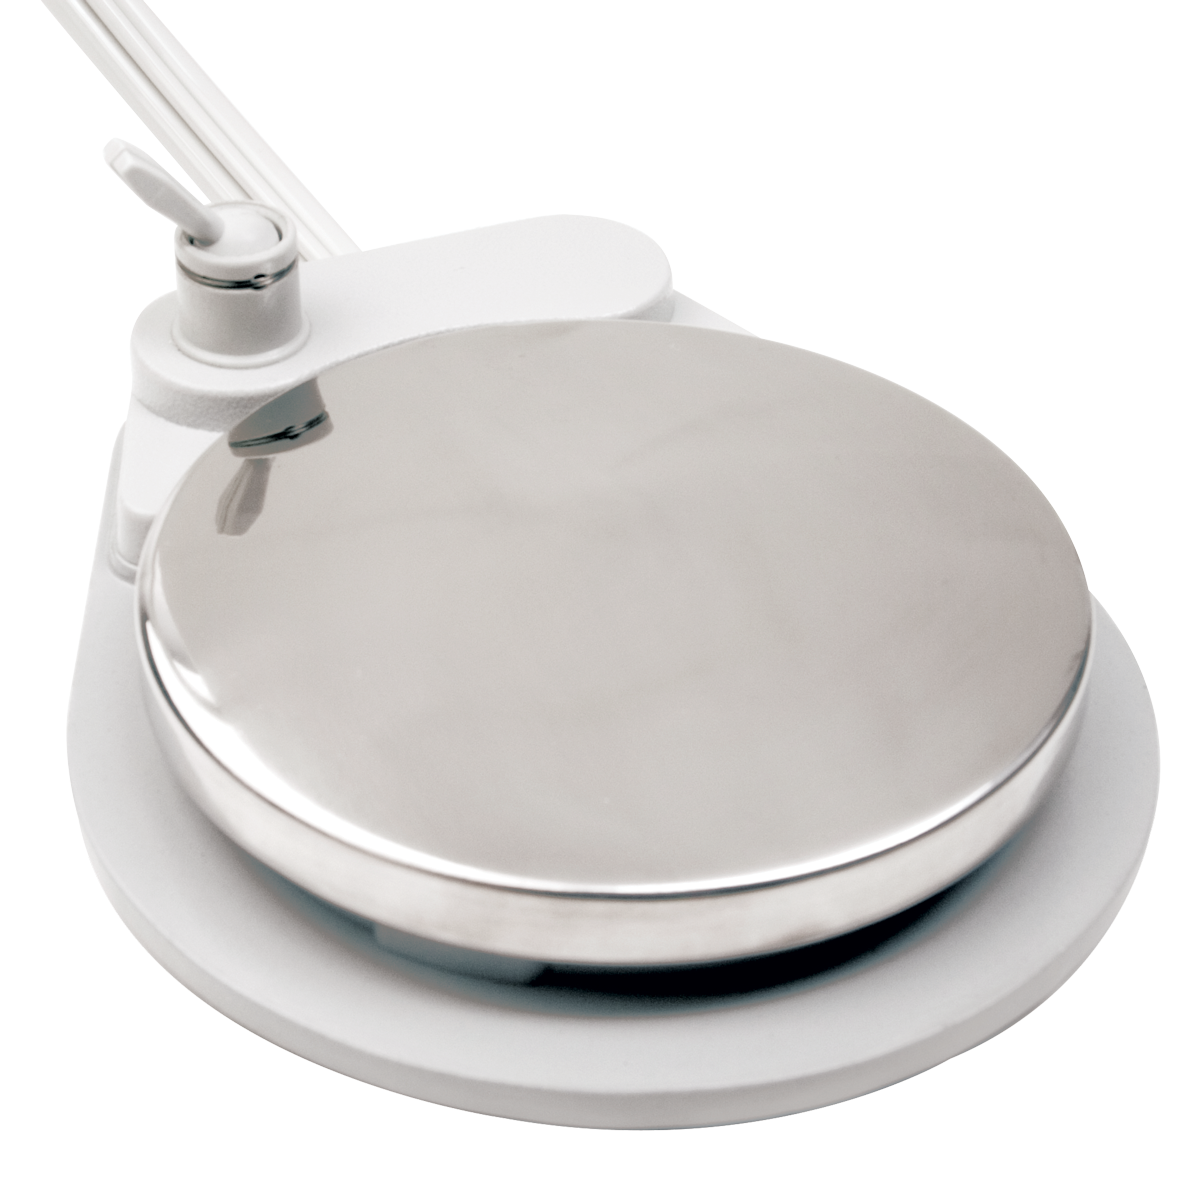

Universal wet/dry foot control for use with non A-dec equipment. Provides consistent variable speed operation. Accessories must be pre-configured on the delivery unit with an existing line for each accessory.
Features:
- Has a water/on off toggle.
- Foot control has a 5-1/4" diameter activation disk with a non-skid metal base.
- Includes 7' of 3 hole tubing.
Instructions for Wet/Dry Foot Control (PDF):
- Turn the delivery unit off.
- Make note of where each line of your existing foot control tubing is connected and then disconnect. The large “ribbed” tubing connects to the source of air in the junction box. The “rib” runs the length of the tubing, like a seam. The large “non-ribbed” tubing connects to unit for drive and coolant air. The small tubing connects to the unit for an air signal to activate the water coolant valve.
- Then trim the flash from the end of the tubing and slip sleeve clamps over, with the internal bevel facing the end of the tubing.
- Slip the tubings over the barbs and lock tubing by sliding sleeve clamp over tubing portion on the barbs with a pliers or sleeve tool.
- Lastly, turn delivery unit back on and test for leaks and proper function.
NOTE: When repairing foot control, take care not to break barbs when installing tubings and clamps. Inserting tubing ends in hot water will further aid this process. If the foot control “hisses” before activation, the large tubings are hooked up in reverse.